 It's that time of year again. As temperatures drop, take a moment to review this previously posted article packed with cold-weather tips.
There are plenty of leak seal jobs that need to be done in the winter. So let's take a look at those cold-weather markets. We'll also review some special considerations for conditioning leak seal material and equipment. Then we’ll leave you with a few cold temperature leak seal application tips.
Cold Weather Markets
You have a variety of options for seeking jobs that are inside, and out of the elements, during the winter months. Hopefully, these ideas will spark more brainstorming on your part. First up we have tunnels, both pedestrian and vehicle. Tunnels often leak, sometimes significantly enough to result in quite a big job. Aquariums are another possibility. As you can imagine, there are infinite potential leak problems in a structure holding that much water. Other possible large jobs could include mines and water treatment plants (which have plenty of interior spaces with potential leak issues). On the smaller side, there are utility vaults, lift stations, manholes, and elevator pits.
If you’re still up for working outside during the winter months, you’re in luck because concrete contracts during colder weather. The contraction makes cracks open wider. Wider cracks make leaks more apparent to the property owner and make them easier to repair.
Conditioning Materials and Equipment
One important point to understand is that cold weather requires you to make an extra effort to keep your materials and equipment warm. Cold material reacts slower and gets thicker. Be sure to store your materials and equipment in a heated room the night before the job. When on the job site, there are many ways to keep everything warm. Use an enclosed vehicle, like a box truck, enclosed trailer, or pickup truck with a camper top or bed cover. Keep as much material and equipment inside the vehicle as possible when working. Use a portable heater to maintain a warm temperature. You can also use electric pail heaters to keep your resin ready for action.
Remember that it won’t do you any good to heat the resin if you’re pumping it through cold equipment. The cold steel inside the pump and the cold hose will literally suck the heat out of the resin before it gets where it needs to be. This will increase the viscosity, making it harder to mix with the water and it will slow down the reaction dramatically. So don’t neglect the equipment side of the equation!
Cold Temperature Application Tips
If you’re using a product with an accelerator, you may need to use a faster accelerator or increase your percentage. Also, bring lots of oakum. You may have to use more if the cold temperature slows down the material or the contracted concrete has made the cracks wider.
If your job requires you to inject into a structure underwater (and the water’s cold), you can use a technique called twin streaming. In this approach, you hook two valves together in a parallel fashion – then inject warm water along with the resin to kick-start its reaction before hitting the cold water.
Conclusion
I hope this overview has helped spark some ideas on your part for finding leak seal work during the winter months. Just remember to keep your materials and equipment conditioned and you should be fine. Have more questions about polyurethane leak seal in cold weather? Call us at 404-618-0438.
Want more in-depth info on polyurethane leak sealing?


 It's that time of year again. As temperatures drop, take a moment to review this previously posted article packed with cold-weather tips.

 It's that time of year again. As temperatures drop, take a moment to review this previously posted article packed with cold-weather tips.

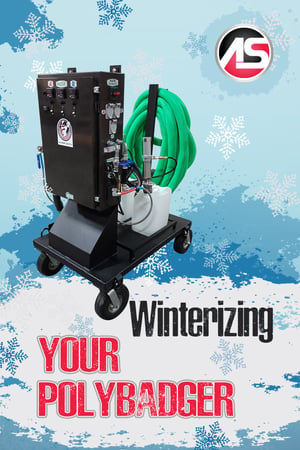 As the weather gets colder, contractors in some regions will need to prepare their

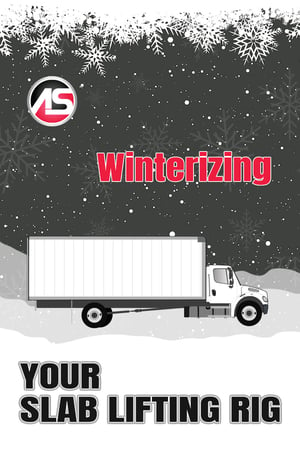 As the weather gets colder, contractors in some regions will need to prepare their slab lifting rigs for storage during the off-season. We're providing step-by-step instructions for that procedure in this article.

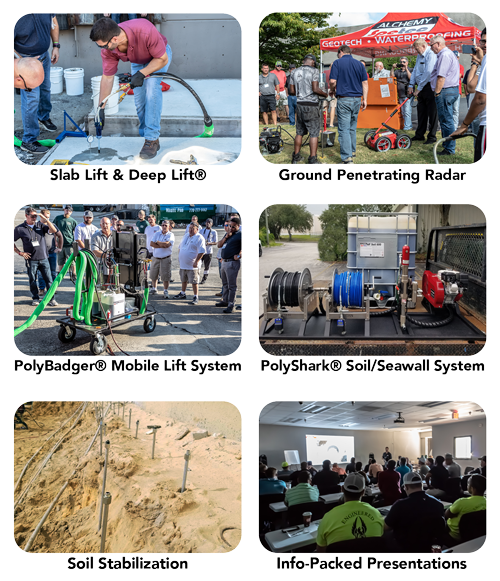
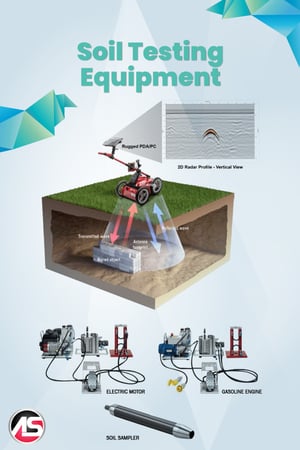 Soil testing equipment is extremely helpful for planning slab lifting and soil stabilization work. Contractors use