

 It's that time of year again. As temperatures drop, take a moment to review this previously posted article packed with cold-weather tips.
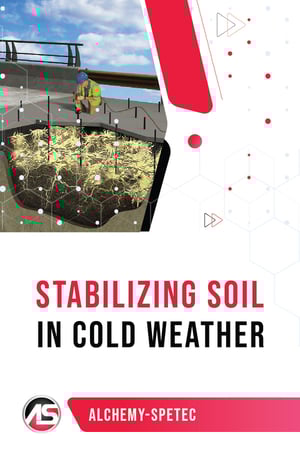
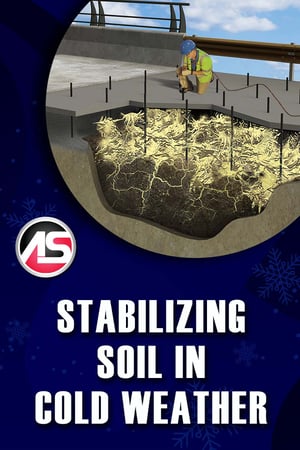
In this blog post, we will share some tips for stabilizing soil in cold weather. The two main points to remember are – to make sure the ground isn’t frozen and to condition your material and equipment properly.
Do Not Attempt Soil Stabilization Work When the Ground is Frozen
If you’re considering soil stabilization in cold weather, the first step is to make sure that the water table isn’t frozen. Iced earth is not permeable enough for the proper mixing of resin and soil. If you attempt to proceed with frozen soil, you’ll just be wasting your material. Best to wait it out in that case.
Properly Condition Equipment and Materials
For optimal results, it’s best to store any materials and equipment that are to be used in a heated environment overnight. It’s best to keep your AP Soil 600 above 60 degrees at all times. This is key because cold material reacts slower and gets thicker. The methods you use to condition your material on the job site will depend on the type of vehicle you’re using.
If you have an insulated rig, it should stay around 40 degrees warmer than outside temperatures. Most foam rigs have built-in electric heaters that require an extension cord to a power outlet at the job site or at your facility for overnight storage. Alternatively, you could buy an electric radiator heater. Other available heating devices include drum band heaters and heated drum mats (be careful not to scorch the polymers by turning band heaters up too high). For a more DIY approach, you could build a hot box around the material storage area in your rig.
If you’re using pails and a smaller vehicle, use an enclosed vehicle, like a box truck, enclosed trailer, or pickup truck with a camper top or bed cover. Keep as much material and equipment inside the vehicle as possible when working. Use a portable heater to maintain a warm temperature. You can also use electric pail heaters to keep your resin ready for action.
Using a combination of the methods described above, you should be able to keep your materials warm enough. In extreme cases when the material gets a bit too cold and thick, you may want to use AP Cat 600 to speed up the reaction time.
Conclusion
As long as the ground isn’t frozen, you should be able to stabilize soil in cold weather. Just make sure your materials and equipment are conditioned properly. If you have any further questions, please contact us at 404-618-0438.
Want in-depth info on soil stabilization products?


 As the weather gets colder, contractors in some regions will need to prepare their slab lifting rigs for storage during the off-season. We're providing step-by-step instructions for that procedure in this article.

 Alchemy-Spetec is proud to donate a portion of all proceeds to the Volunteer Florida Foundation's Hurricane Ian relief efforts through the end of 2023. Join us in supporting our neighbors in Florida, who were affected by Hurricane Ian.


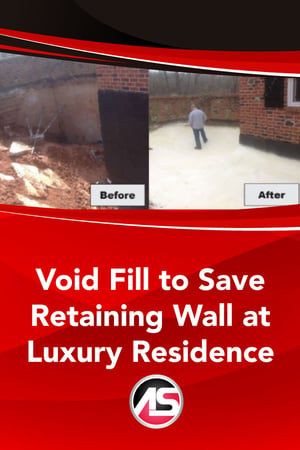 A retaining wall at a Georgia-based luxury residence was failing due to the pressure of the surrounding soil. A general contractor excavated the site around the wall and planned to install lightweight foam blocks as a replacement for the heavy soil that was removed. After doing a little more research, the contractor discovered that, due to the cost of shipping the blocks, liquid polyurethane foam installation by a local specialized contractor was a lot less expensive. Liquid polyurethane foam takes the shape of the void before curing to form a high-strength solid mass.
 Andy Powell Promoted to Division Manager - Geotech

 New year's message from Alchemy-Spetec Co-Owner and President Stephen C. Barton. (Stephen has been at the forefront of the concrete repair industry for over 30 years. Running leak seal crews in his teens, developing breakthrough polyurethane technology in his twenties, and helping grow the market ever since; Mr. Barton has been a leader in the field for most of his life.)
 As the weather gets colder, contractors in some regions will need to prepare their slab lifting rigs for storage during the off-season. We're providing step-by-step instructions for that procedure in this article.
 It's that time of year again. As temperatures drop, take a moment to review this previously posted article packed with cold-weather tips.
 It's that time of year again. As temperatures drop, take a moment to review this previously posted article packed with cold-weather tips.
